|
|
index  reference user_interface torque reference user_interface torque
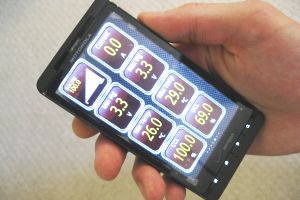
Android Torque app
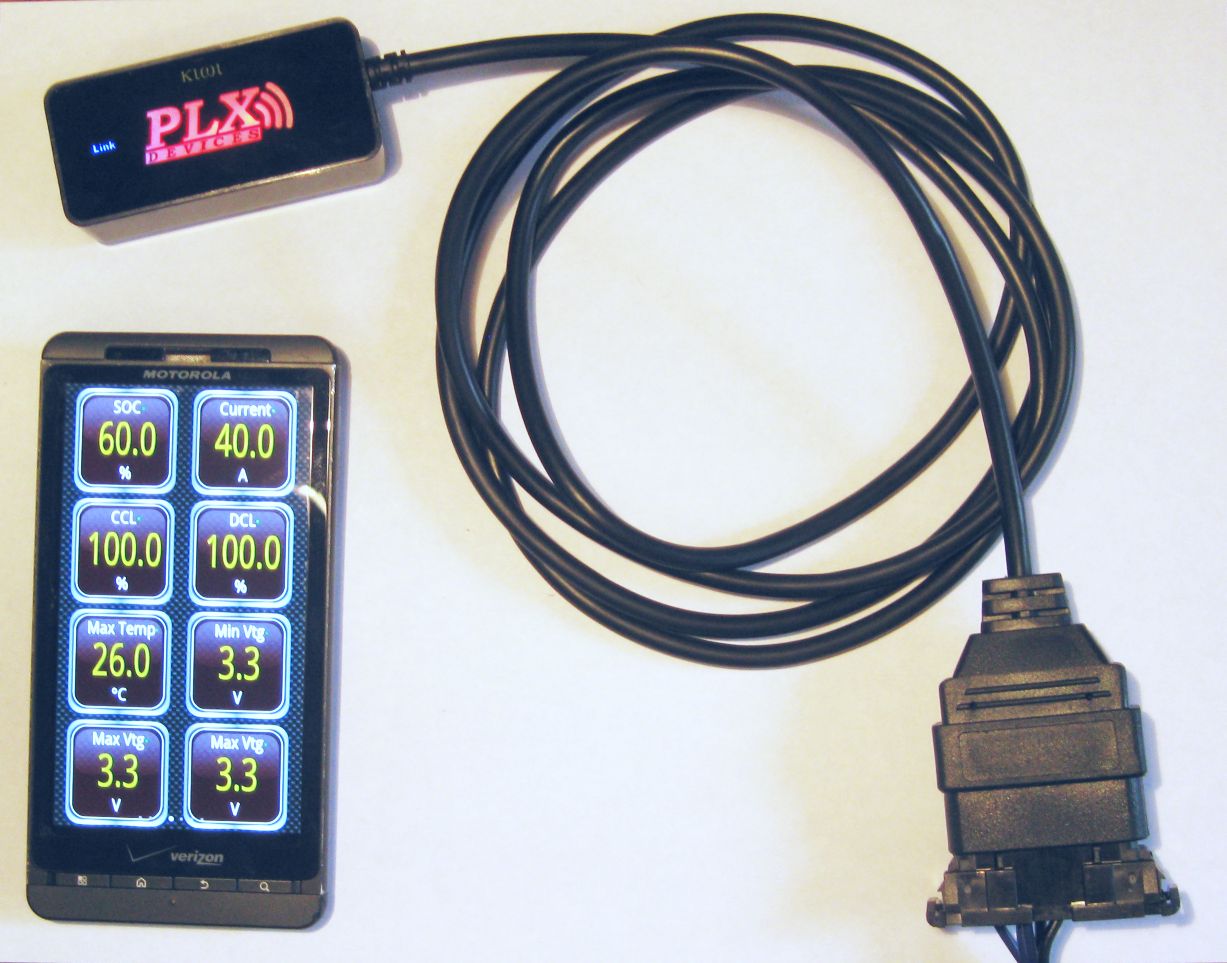
Lithiumate Pro wireless interface to an Android phone using the Torque app

You can monitor your Lithiumate Pro wirelessly through your Android phone using the Torque app and a OBDII-USB adapter.
- Software
- Hardware
- An Android device (phone or tablet)
- One of these supported Bluetooth adapters
- An OBD II connector set:
- MiniFit Jr sockets (4 ea used, but buy 10)
- 24 AWG wires, 4 colors
- Crimp tool, wire stripper
|
Build an OBDII to Lithiumate Pro adapter.
|
| OBD II connector
| Lithiumate Pro
control connector
|
| Ground
| 5
| 1
|
| CANL
| 14
| 8
|
| CANH
| 6
| 16
|
| 12 V
| 16
| 2
|
|
Click to enlarge
|
- Download the Pro Version of Torque and install it on a compatible Android phone or tablet device
- Download the predefined PID set to your Android device, and place it into the "Torque extended PIDs" folder
- Run Torque
- Load the predefined PID set by using the Menu>Settings>Manage extra PIDs/Sensors>Menu>Add predefined set option
- In the Vehicle Profile setting select ISO 15765-4 CAN (11bit 500k baud) for the OBD2 protocol
- Wire it to the Lithiumate Pro CAN bus (see below)
- Connect the Bluetooth adapter to the OBD II connector
- Turn on the Bluetooth adapter and the BMS controller
|
|
- Enable the Torque application to communicate with the Lithiumate Pro
- Leave the CAN termination resistor on ("YES") on the BMS controller
|
Click to enlarge
|
You may customize the Torque app by adding any of the many Elithion PIDs that are available
- Download the Elithion Lithiumate Pro PID table
- In the table. find a PID of interest, and look up its details
- Figure out the formula to convert from the Pro's units to the units you want to display
- For example, for Minimum Voltage [10 mV + 2 V], PID 43 00
- Minimum Voltage [V] = 0.010*A+2
- For signed values (Power, EnergyIn, Pack curr, Avg src cur, Avg lod cur, Source cur, Load curr) use the "SIGNED" function; For example, for pack current: "0.1*(SIGNED(A)*256+B)"
- Select the range to be displayed (for example, -300 A to 300 A)
- Note the CAN ID ("header"), i.e.: "7E0"
- Put it all together; for example, "Pack Current","Current","106800","0.1*(SIGNED(A)*256+B)","-300","300","A","7E0"
- Enter a custom PIDs into Torque: Menu>Settings>Manage extra PIDs/Sensors>Menu>Add Custom PID
|
| Long Name
| Short Name
| Mode & PID
| Equation
| Minimum
| Maximum
| Units
| Header
|
| Columns of PID table
| B
| B
| D, E, F (1)
| S (2)
|
|
| S
|
|
Example:
Pack current
| "Pack Current"
| "Current"
| "106800"
| "0.1*(SIGNED(A)*256+B)"
| "-300"
| "300"
| "A"
| "7E0"
|
Note (1): Mode & PID, from columns D, E, and F of the Elithion Lithiumate Pro PID table.
|
| Mode
(column D)
| PID, high byte
(column E)
| PID, low byte
(column F)
|
Example:
Pack current
| 10
| 68
| 00
|
Note (2): Formula, from columns D, E, and F of the Elithion Lithiumate Pro PID table.
| A =
| Value returned in byte 4 (column O of PID table)
|
| B =
| Value returned in byte 5 (column P of PID table)
|
| C =
| Value returned in byte 6 (column Q of PID table)
|
| D =
| Value returned in byte 7 (column R of PID table)
|
| SIGNED(x)
| If value is >= 128, returns x-128, else returns x
|
By default, the Lithiumate BMS receives PID requests at CAN ID 7D0h and responds at ID 7D8h.
If another device on the CAN bus uses those IDs, change the Lithiumate Pro's PID ID

|
|